03.15.2026
And a huge THANK YOU to my amazing THROWDOWN class…
who got me this fantastic tie-dyed t-shirt as a “Thank You Gift.”

Well, actually they made it… with Monse designing the logo!
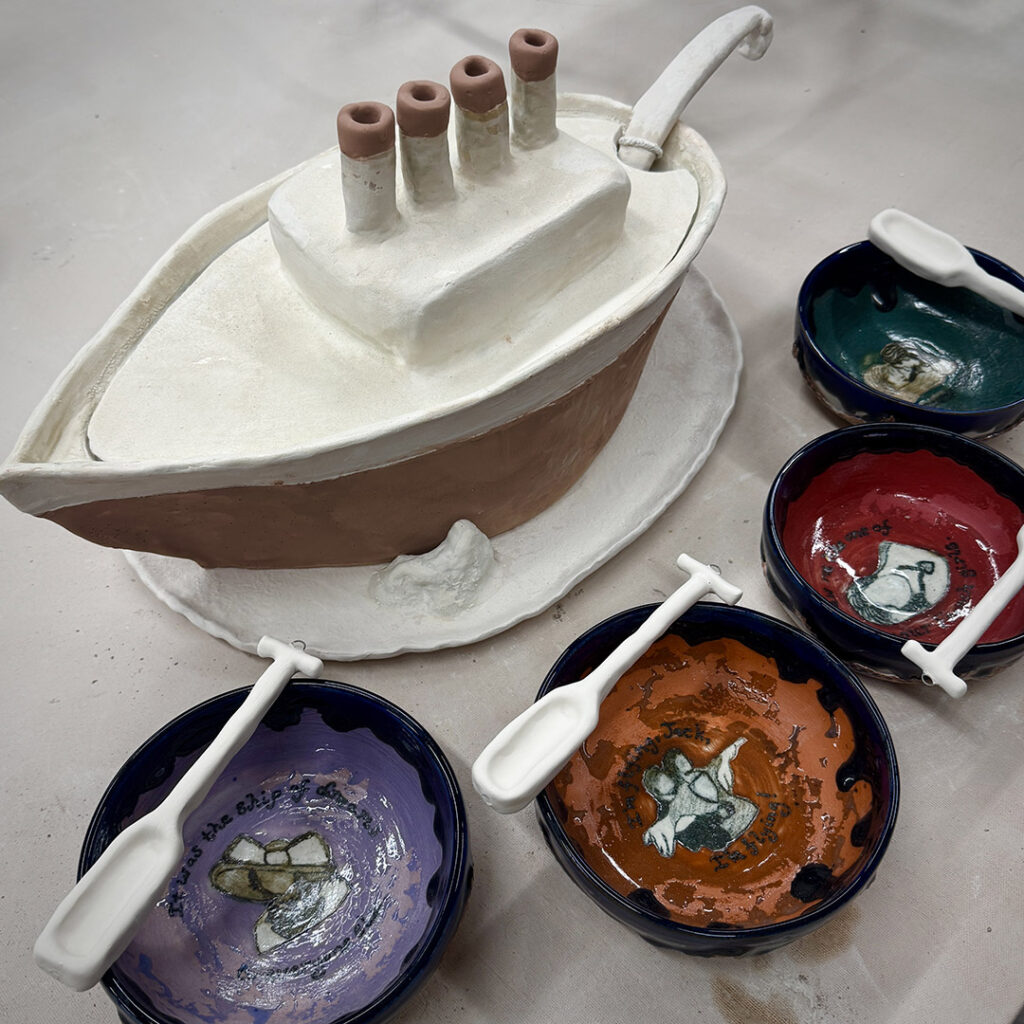
It says “Welcome To The Throwdown : Kiln or Be Kilned.” With a nod to my love of tie-dye, reality TV show “The Traitors”… and even some stamping around the tureen image! Monse even pulled one of my own favorite stamp patterns to create the design!!!
This class never ceased to amaze me… THANK YOU ALL!!!